Custom 3D Logo Intro Stinger
Introduction
2024 is proudly the 10-year anniversary of the 007 Labs brand!
To celebrate, I thought it would be a nice idea to treat 007 Labs to a well-deserved logo intro sequence (logo stinger). The 007 Labs brand is synonymous with quality, premium service, and professional excellence.
To reflect this, it was important that the new 3D logo intro animation was some of my best work. After all, it will be used at the beginning of my YouTube and other social media videos, so it could be seen regularly.
I never have a problem investing a good amount of time in things that contribute towards ‘first impressions’ of the 007 Labs branding and identity.
Watch the full video below to see what we’re making:
1. Creating 3D Logo Parts
The basic principle of bringing a 2D logo into 3D life is starting off with the 2D parts and using extrusion and bevelling tools to generate the final 3D logo.
Ideally, these 2D parts need to be created in ‘vector’ format to have maximum scalability and the best ‘edge quality’ in the final production.
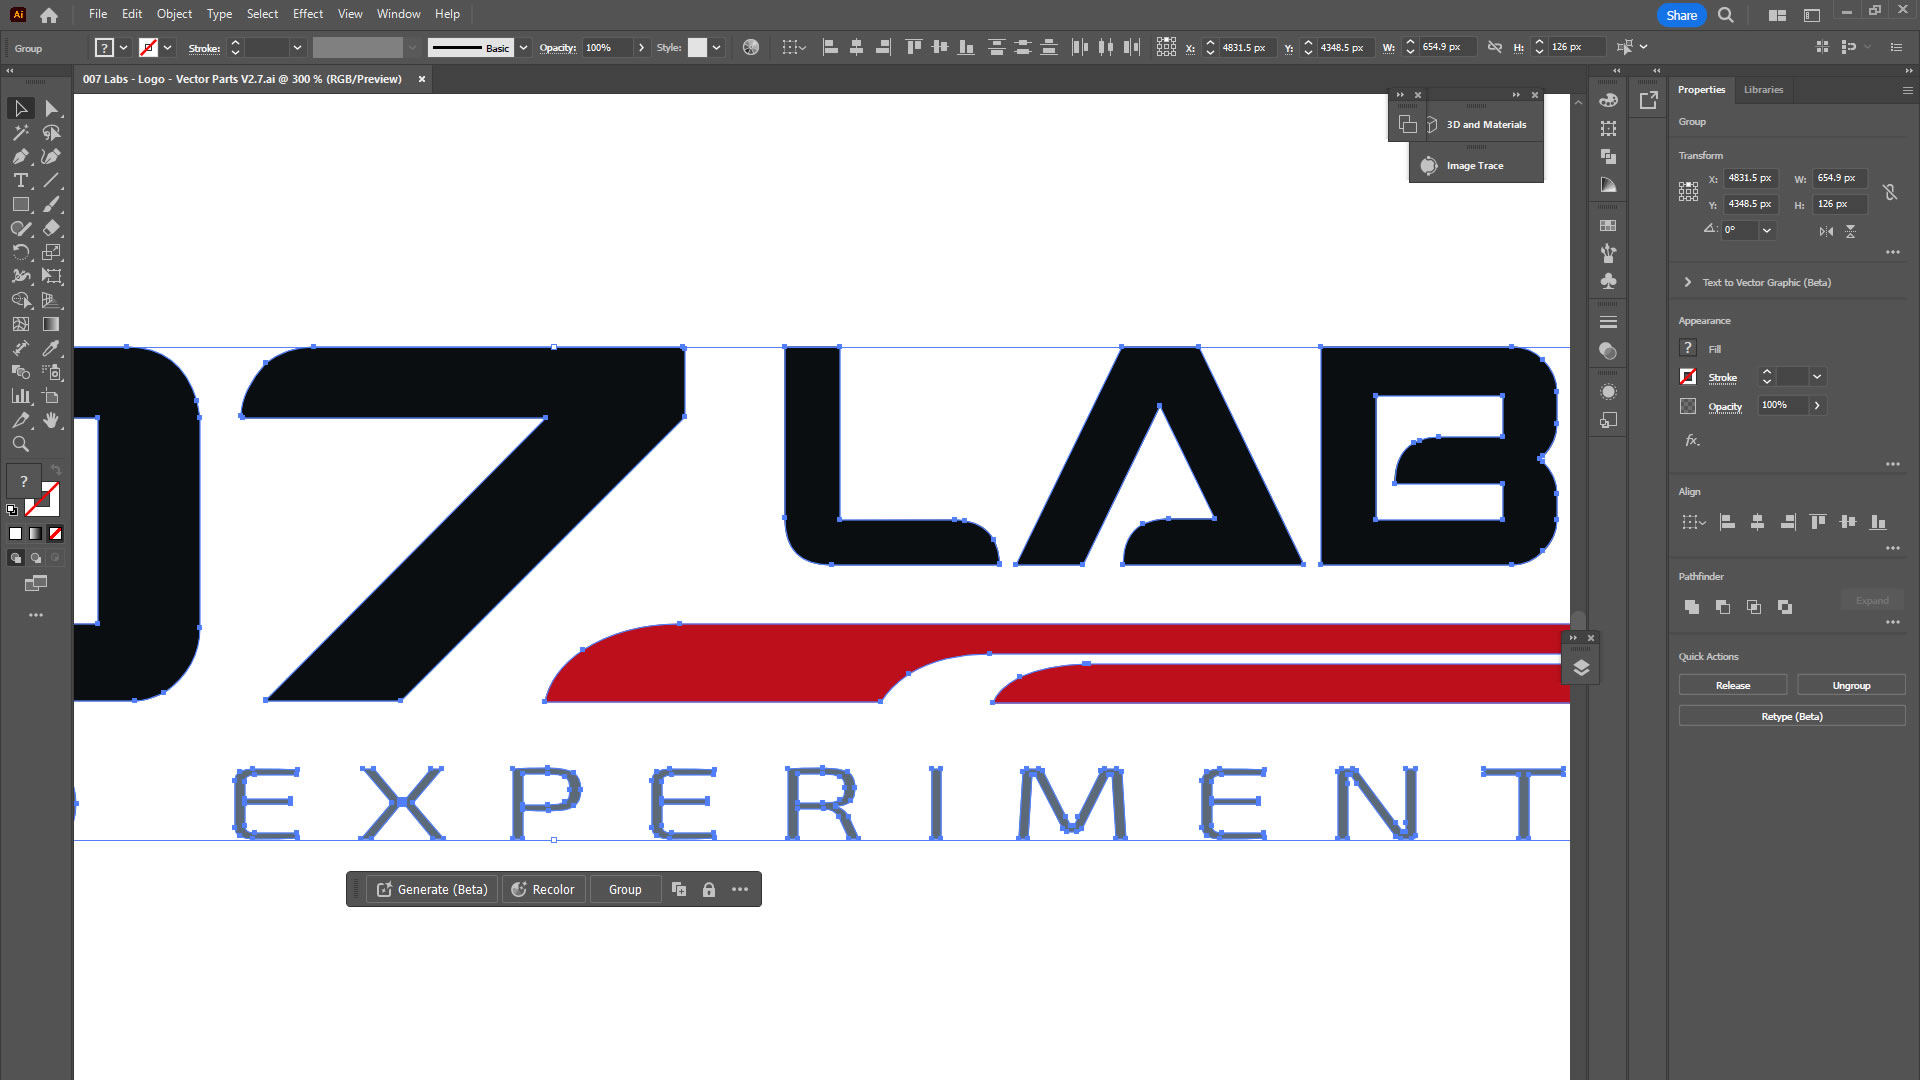
I use Adobe Illustrator to create the 2D logo parts in vector format.
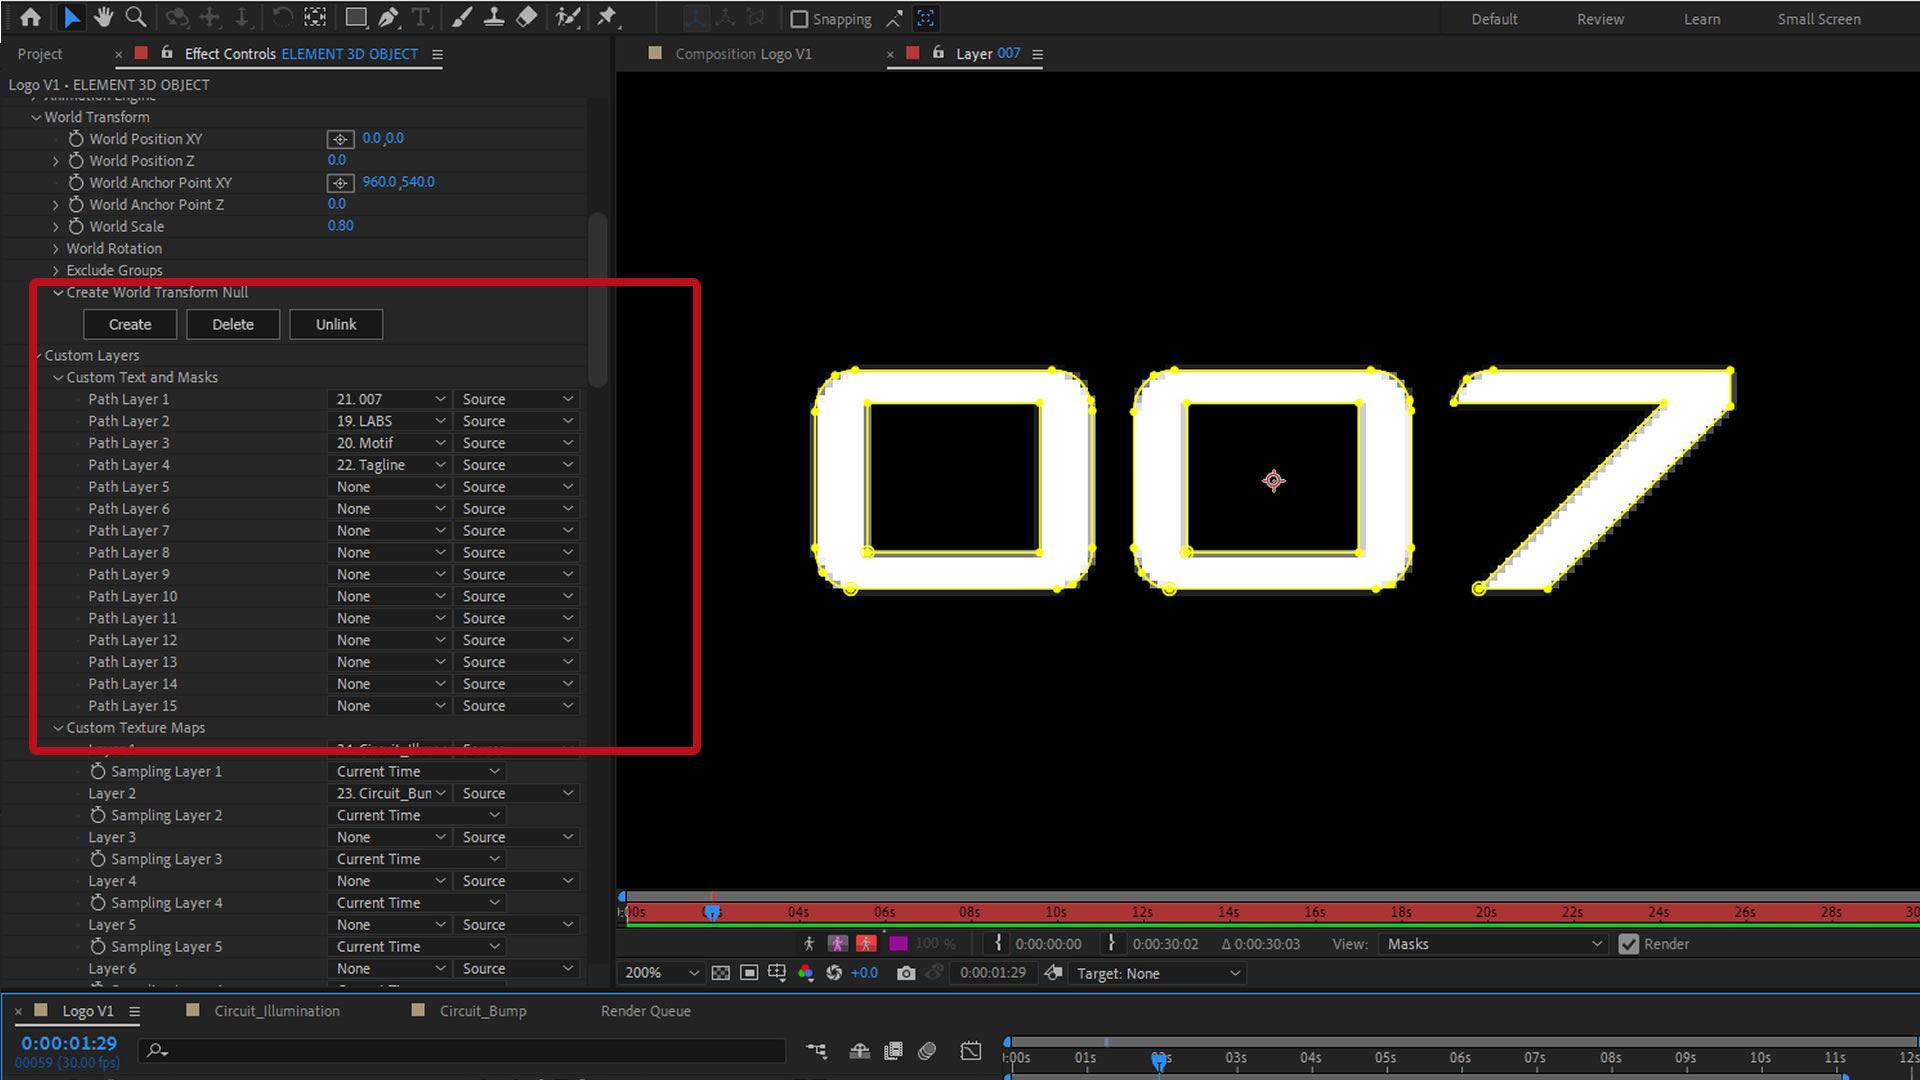
I then copy / paste (import) these parts into Adobe After Effects as masked shape layers to later assemble in 3D space.
2. Assembling The 3D Logo
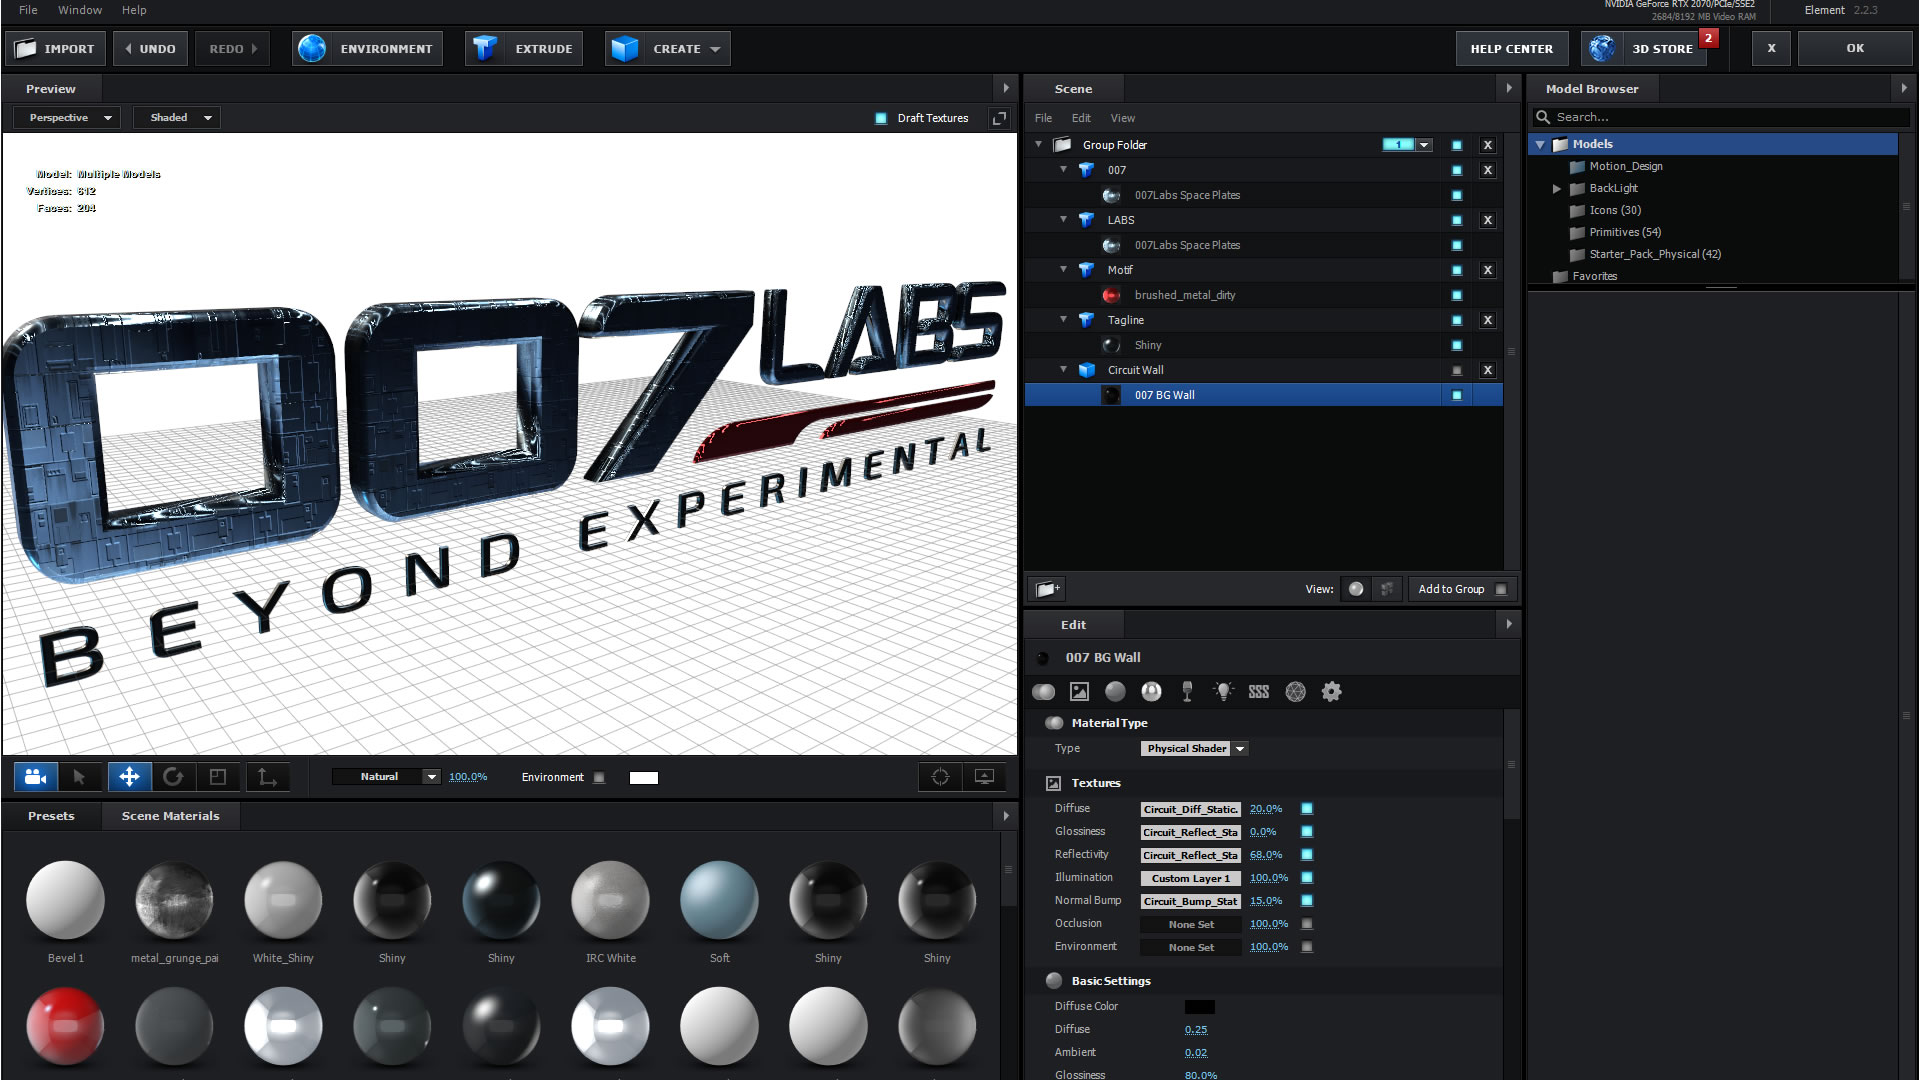
For building 3D logo animations, I like to use Video Copilot’s Element 3D plug-in designed for Adobe After Effects.
It’s a professional tool so it’s not a free plug-in, but Element 3D is extremely good at producing great looking 3D motion graphics with reasonable rendering times (compared to that of other pro 3D tools).
3. Creating The Surface Textures
‘Texture Maps’ in 3D are the colours and patterns and surface ‘look and feel’ of the objects in the 3D scene. Textures are made up of flat 2D raster images (such as jpgs, .pngs, or even movie files) that are wrapped around the 3D shape like a big shrink wrap.
With 007 Labs being a very high-tech brand, I wanted the textures to be metal titanium plates for the main logo and a circuit board in the background to represent the A.I. Consultancy, Prototype Engineering and Electronic Engineering services that I provide.
The metal plate textures used on the main logo are made up of multiple separate texture maps:
The most basic is the ‘Diffusion Map’, which are the actual ‘colours’ of the surface (like painting or printing a colour onto your 3D object).
The ‘Bump Map’ texture represents the high points and the low points of a ‘bumpy’ surface. This can be used to create the look of a surface such as tree bark, human skin, or the joins in between floor tiles and so on.
Bump Map images use a black / white (greyscale) image to represent the surface bump map texture ‘height’ (white being the highest texture surface areas, and black being the deepest / lowest areas in the bump mapping height). In this case the bump map is what is called a “normalised bump map” which gives it the purple look.
I am also using a ‘Specular Map’. A specular map represents the shiny areas of a surface versus the matte parts of the surface (glossy / shininess). again, using just a greyscale image where the whitest parts being the most shiny / glossiness and black / dark areas being the least glossy / shiny areas.
I have also used a ‘Reflectivity Map’ which is similar to the specular map but it designates the areas that are highly reflective and metallic versus the areas that are non-reflective and absorb light rather than reflect it (lightest part creates the most reflective) .
The diffusion map, specular map, bump map and reflectivity maps are usually what I use the most.
There are other types of maps you can use, including an ‘Illumination Map’ which can be used to designate the areas that are emitting light such as LED lights or indicator lights within the texture.
When combining all of the various texture maps together, you can create extremely photo realistic and physics accurate surfaces that look stunning.
Here you can see the circuit board background element is using the illumination map to create the red glowing track data signals.
4. Creating The Circuit Board Background
The Next step is to create the circuit board background in 3D.
I took the original circuit board pattern from a YouTube video that I screen recorded using OBS live streaming software.
With a bit of ‘hokery pokery’, I was able to extract the illumination layer from the circuit board pattern layer, so I could use as an animated texture for the background scene.
I created static texture maps from the video capture so that I could use the circuit board pattern as a bump map and a specular highlight map and ultimately the animated illumination map.
In this instance, I will be using the circuit board with an animated texture map to re-create the data travelling around the circuit board.
5. Lighting & Environment Maps
A quality lighting setup and good use of ‘Environment Maps’ are essential for a realistic 3D scene.
For this project, I am using a standard three-point lighting system, which typically includes a primary light, a secondary light and a back light, but in this case, I’m using an ‘up light’ instead of a backlight.
The ‘Environment Map’ is essentially the ‘room’ that you put your object inside. It’s the environment around the object that will be reflecting off of the surfaces or the object in your scene.
This is very important for this design because of the mirror like reflectivity of the metal textures. The environment that is reflecting off of the surfaces will be highly visible and needs to match in with the overall scene.
I’ve ended up using a warehouse kind of looking environment map.
6. Scenes and Cameras
For this type of logo animation sequence, all I tend to need are a few different cameras setup with each one being responsible for a particular area of the subject, or different types of camera moves.
Consider each camera as a ‘Scene’ in the movie and each scene will repeat a similar movement or angle but with a few variations like ‘Takes’.
I like to render a few different types of movement, focused on different parts of the logo.
In this example, I’m using a total of five scene cameras and each camera is set up with 3 to 4 variations of speed and movement to give me a final selection of 20 or so clips to choose from.
7. Visual Effects
Once I’m happy with the lighting and the camera setups, I like to add a few visual effects to better ‘sell the shot’.
Because of the shiny and reflective nature of the logo textures I’ve created, it makes sense to add a few optical flares to tie everything together in the scene.
I use the Optical Flares plug-in by Video Copilot, which respects the 3D scene positions of the lights and camera focus points to allow creation of extremely realistic optical flares.
I’ve used a simple tweening process to animate the light point of the optical flare so that it tracks the specular highlight (bright shiny bit) in the scene.
Next, I like to add motion blur to the scene to imitate a real camera, which can really help to sell the shot. Here I’ve set a shutter angle of 250 degrees which is a good place to start.
I also like to use a bit of antialiasing to avoid that over sharp CGI look (sharp jagged edges).
I usually add about 8x multisampling antialiasing and 4x multisampling antialiasing just to soften up the scene and give it more of a cinematic look.
The motion blur and antialiasing effects increases the complexity of the scene and therefore increases the rendering times significantly.
I will usually render a few test shots out (without the motion blur and antialiasing effects applied) to reduce the time for rendering, just to make sure the camera speed and lighting etc looks good.
Once I’m happy, I’ll turn on all of the visual effects for final rendering. Each of the 5 scene clips (15-20 seconds or so each) took around 4 hours to render. (20+ hours of total rendering time).
8. Bringing It All Together
To piece it all together in the final edit, I use Adobe Premiere Pro. I import all of the rendered 3D scenes from Adobe After Effects and start splitting them up into the 20 or so individual camera “takes“.
After going through the rendered clips a gazillion times, I will choose (and then re-choose) the best clips that flow together nicely and assemble in the timeline.
Here are the final 8 clips I chose for the sequence. I’ve used some basic fade transitions between the clips, nothing too fancy.
I used a digital glitch transition effect to glitch from full 3D motion graphics to the regular / simplified ‘2D’ version of the logo at the end.
The final scene where the regular 007 Labs logo glosses over, was created separately in after affects.
I then position that gloss animation clip over the top of the regular 007 Labs logo and circuit board background to give it a nice flash over at the end.
Finally, a Magnifier transition with a bit of chromatic aberration was used to exit the sequence for a more dramatic end
9. Sound Design & Sound Production
Surprisingly, you can often spend just as much time if not more on the sound design as you can on everything else. Your audio in a scene like this can literally make it or break it.
In total, 24 sound effect clips were used to create the sound design in this short animation sequence. Each sound effect was handpicked from my vast library of professional sound effects that I have invested in over the years.
Believe it or not, the entire foundation of the sound design in this sequence started off as nothing more than a simple strings cord in key B Flat. I built everything else up on top of that.
Some of the individual sound effect clips have also had various filters applied to change the sound slightly.
For example, the woman’s voice you hear is called T.I.A. (who is my custom A.I. Tactical Intelligence Assistant).
I have applied various filters to her voice to give it some reverb / echo, some “through the radio speaker“ effect, a stereo widener and various other audio filters to give her the distinctive sound her (T.I.A.) voice has.
10. Finishing Touches
Once everything is positioned and timed perfectly, I finish things up with some professional Colour Grading.
I like to use Magic Bullet Looks plug-in by Red Giant for final colour grading, which is basically what the Hollywood pros use!
I spent a long time getting the original logo animation looking as good as possible in After Effects, so there wasn’t too much colour grading to do.
In this instance, I’ve just added a diffusion filter to give it a bit of glamour and glow, a vignette just to imitate the imperfection of a camera lens, and some edge softening which just adds to that effect of depth of field.
11. Final Compression & Export
For uploading to YouTube, I will typically export at 30fps – 1920px x 1080px (Full HD) and using about a 20Mbps to 30Mbps bit rate (CBR).
Because this is also the source file that will be used in the beginning of many other videos, I will also be rendering a fully ‘uncompressed’ version (using QuickTime .MOV for maximum rendering quality).
This uncompressed version of the logo intro animation will be dropped into the beginning of future videos and needs to be perfect starting quality.
Obviously when used in a future video, it will itself be exported with the relevant reduction in bitrate, depending on the final deliverable required.
You’re always best off starting with the best quality clips possible, and then scale down if you need to when finally exporting.
Conclusion
As I’m sure you can see from my brief overview of how I put this new 3D logo animation sequence together, there is an awful lot involved.
In terms of project timing, I spent approximately 2 weeks from start to finish creating this 20 second clip.
However, despite the time and expertise it takes, your branding and your identity is a crucial element to your business.
Creating an awesome first impression for your business is essential in today’s competitive landscape.
The very first time someone sees you or your brand, it needs to stick in their mind and give them the right ‘feel’ of who you are and what you’re all about.
What’s more, not enough people appreciate the value of first impressions and the power of your branding and identity to truly effect and control the types of customers you attract to your business.
Like What You See?
Would you like 007 Labs to develop YOUR very own custom logo intro stinger, completely bespoke to YOUR brand and identity?
Please contact me today for more information about our Branding and Identity services and how we can help you to stand out from the crowd!


